Three ways to use Buddha's Hand
Buddha's Hand. It looks like something straight out of a fruit-based horror movie. Here are three ways to use this zesty, aromatic citrus in your cooking.


Editor's Note: The original version of this story was published on January 21, 2019, on the first edition of JWontheRoad.com as part of the "Know Your Ingredient" series.
The grocery store is almost always an intimidating place for so many reasons.
Every once in a while, while you're walking around the store, you see something startling.
And that is where today's ingredient comes in.
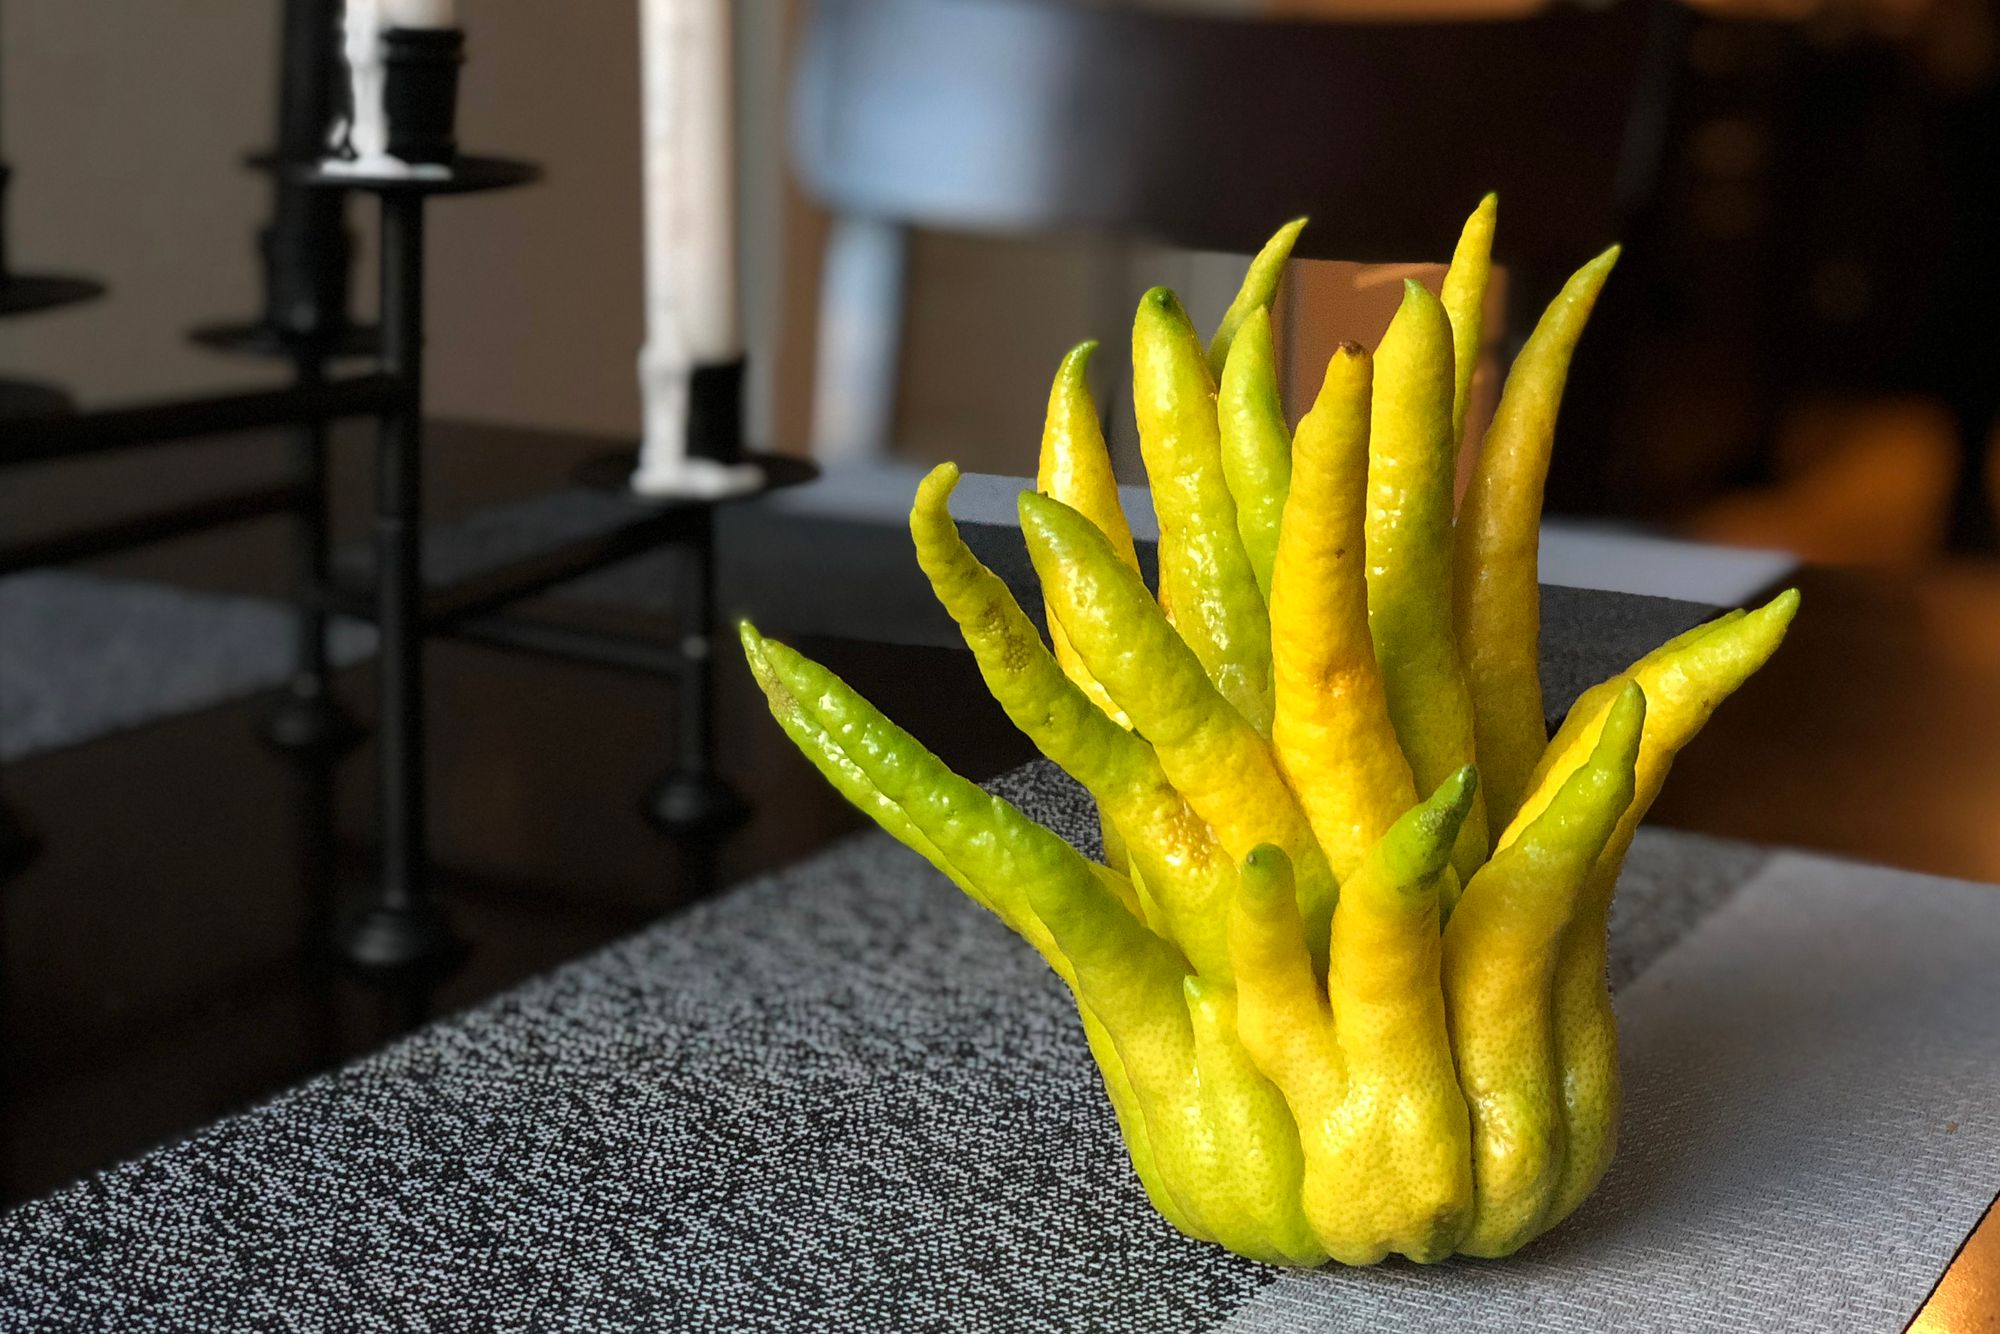
Picture this: You're walking around the store, grabbing some lemons, maybe some limes and you see this:
A little closer...
What. Is. This. Thing.
The answer? Buddha's Hand.
On the outside
This citrus, with a sturdy base reminiscent of a rectangular lemon, has long, curly extended "fingers." I feel weird calling them fingers because they are coming from a fruit.
The origin of this so-called "fingered citron," or citrus medica of the sarcodactylis variety comes from either northeastern India or China, though questions remain about exactly where or how the fruit developed. Some scholars say Buddhist monks carried the fruit from India to China around the fourth century, while others believe it grew naturally in the Yangtze River Valley.
Now, Buddha's Hand grows in warm, temperate climates, including California, Texas and other warmer regions of the United States. The plant is, however, susceptible to frost and highly extreme heat, so consistency is key when trying to grow it.
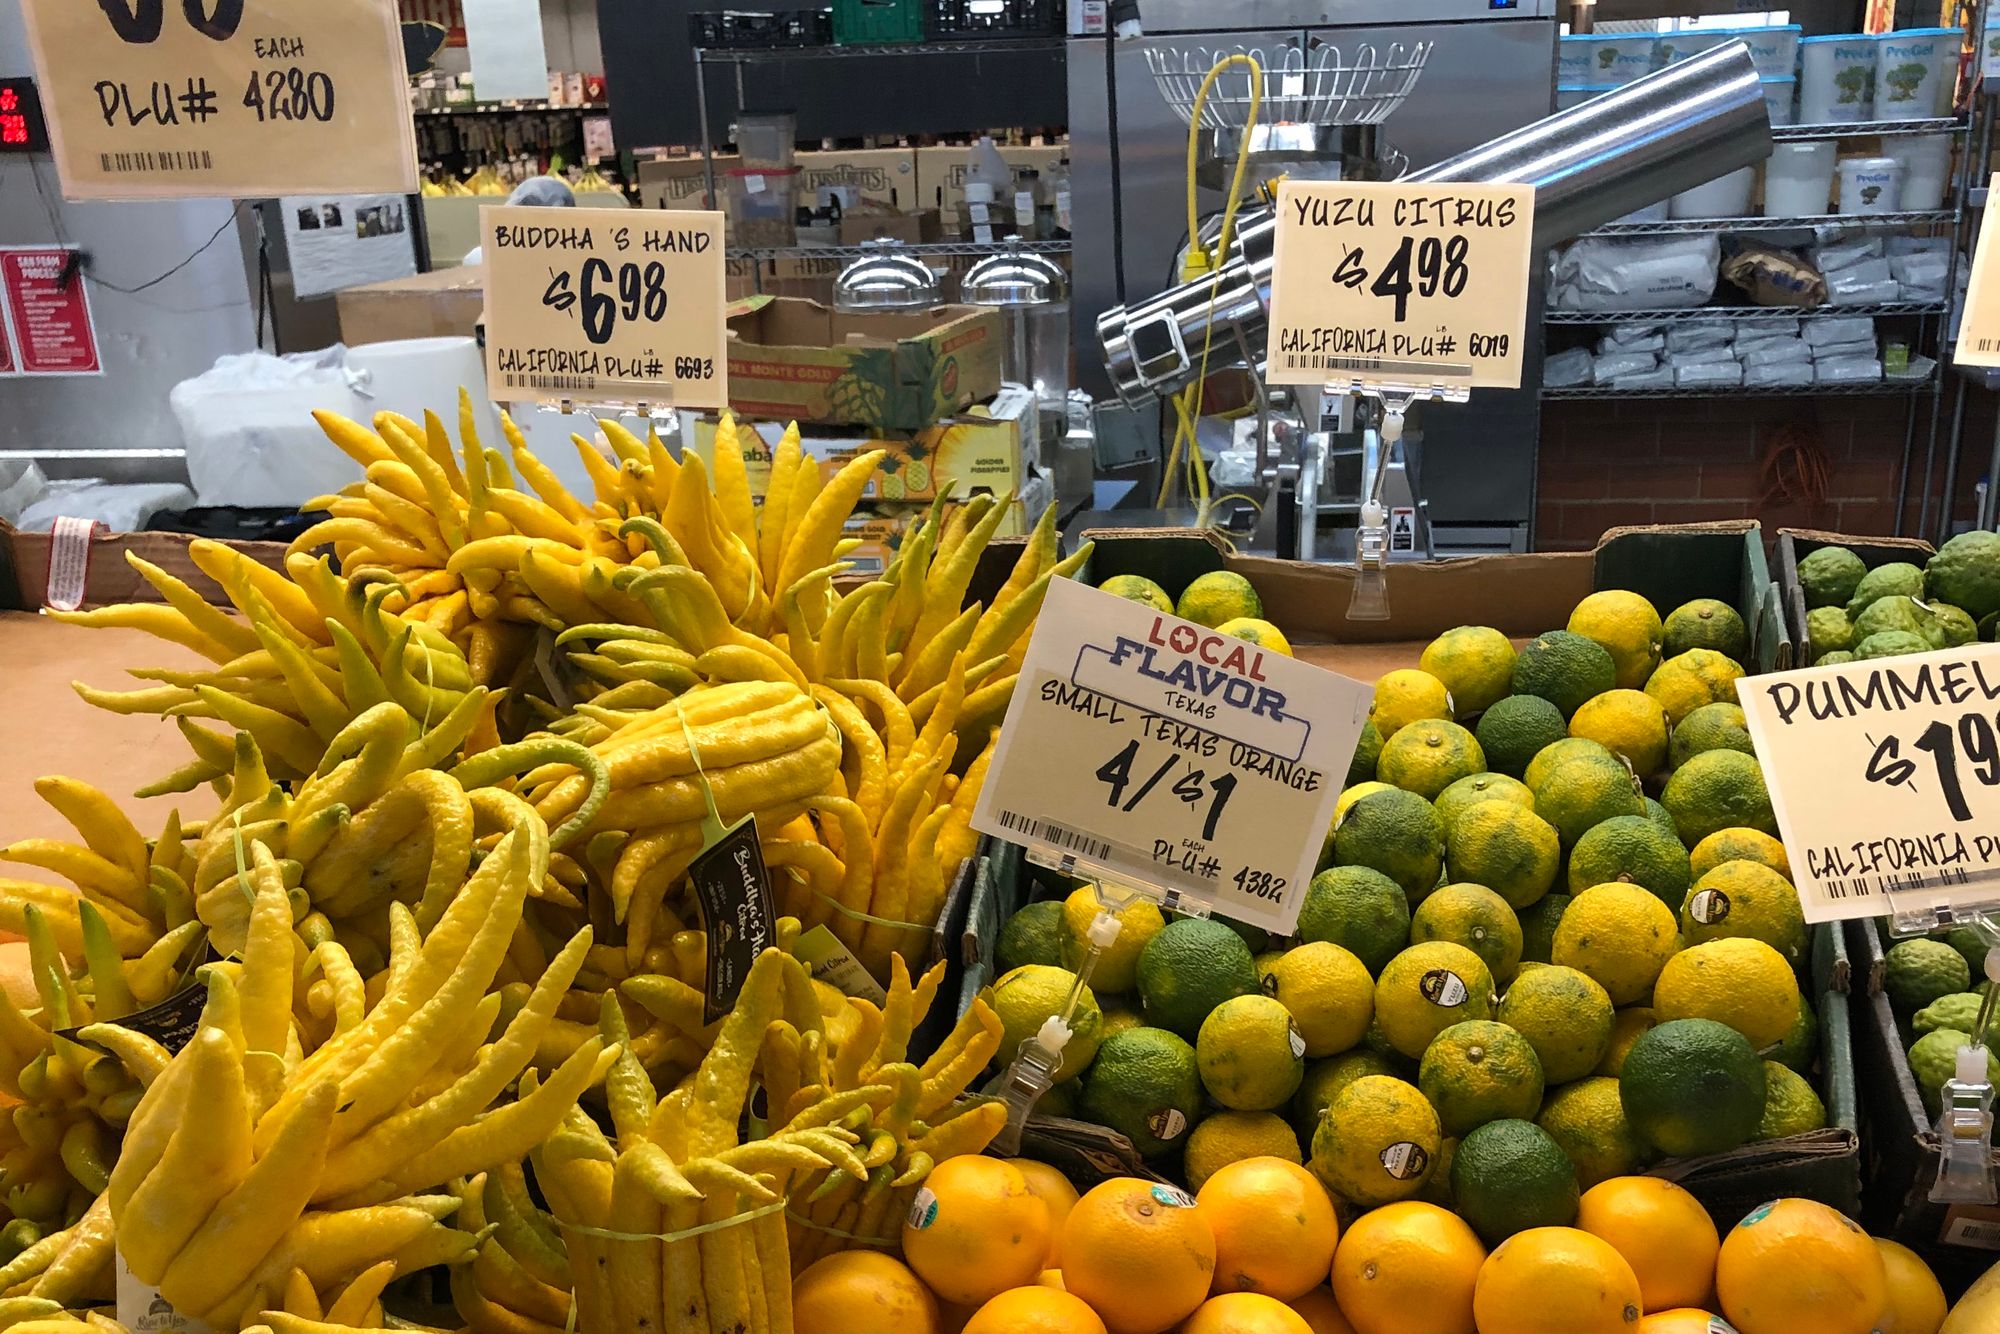
I found it in a standard grocery store in Austin, Texas in early October as a seasonal item; however, I've found it off-season as well in Asian markets and other specialty stores, so the availability really depends on your region and the type of store.
The University of California at Riverside has a great breakdown here of what to know about the science behind Buddha's Hand.
When you pick up a Buddha's Hand for the first time, you're looking for something crisp and clean — not sticky or blemished. The "fingers" may appear slightly shriveled or dented, that's OK. When I say blemishes, I mean huge, obvious markings that would indicate mishandling.
If you hold one up to your nose, you should immediately smell citrus. Like a lemon (the Buddha's Hand is closely related to the lemon family), you'll smell the sourness that lemons produce, but with a faint sweetness.
In fact, Smithsonian Magazine reports that the aroma of Buddha's Hand is "so good that its presence in a home is better than potpourri." Yeah, they're right here. It's great. My apartment smelled like Buddha's Hand for the weeks I had it on hand. It was delightful.
OneGreenPlanet recommends adding the peel of Buddha's Hand to vinegar to make a disinfecting citrus spray. Good tip.
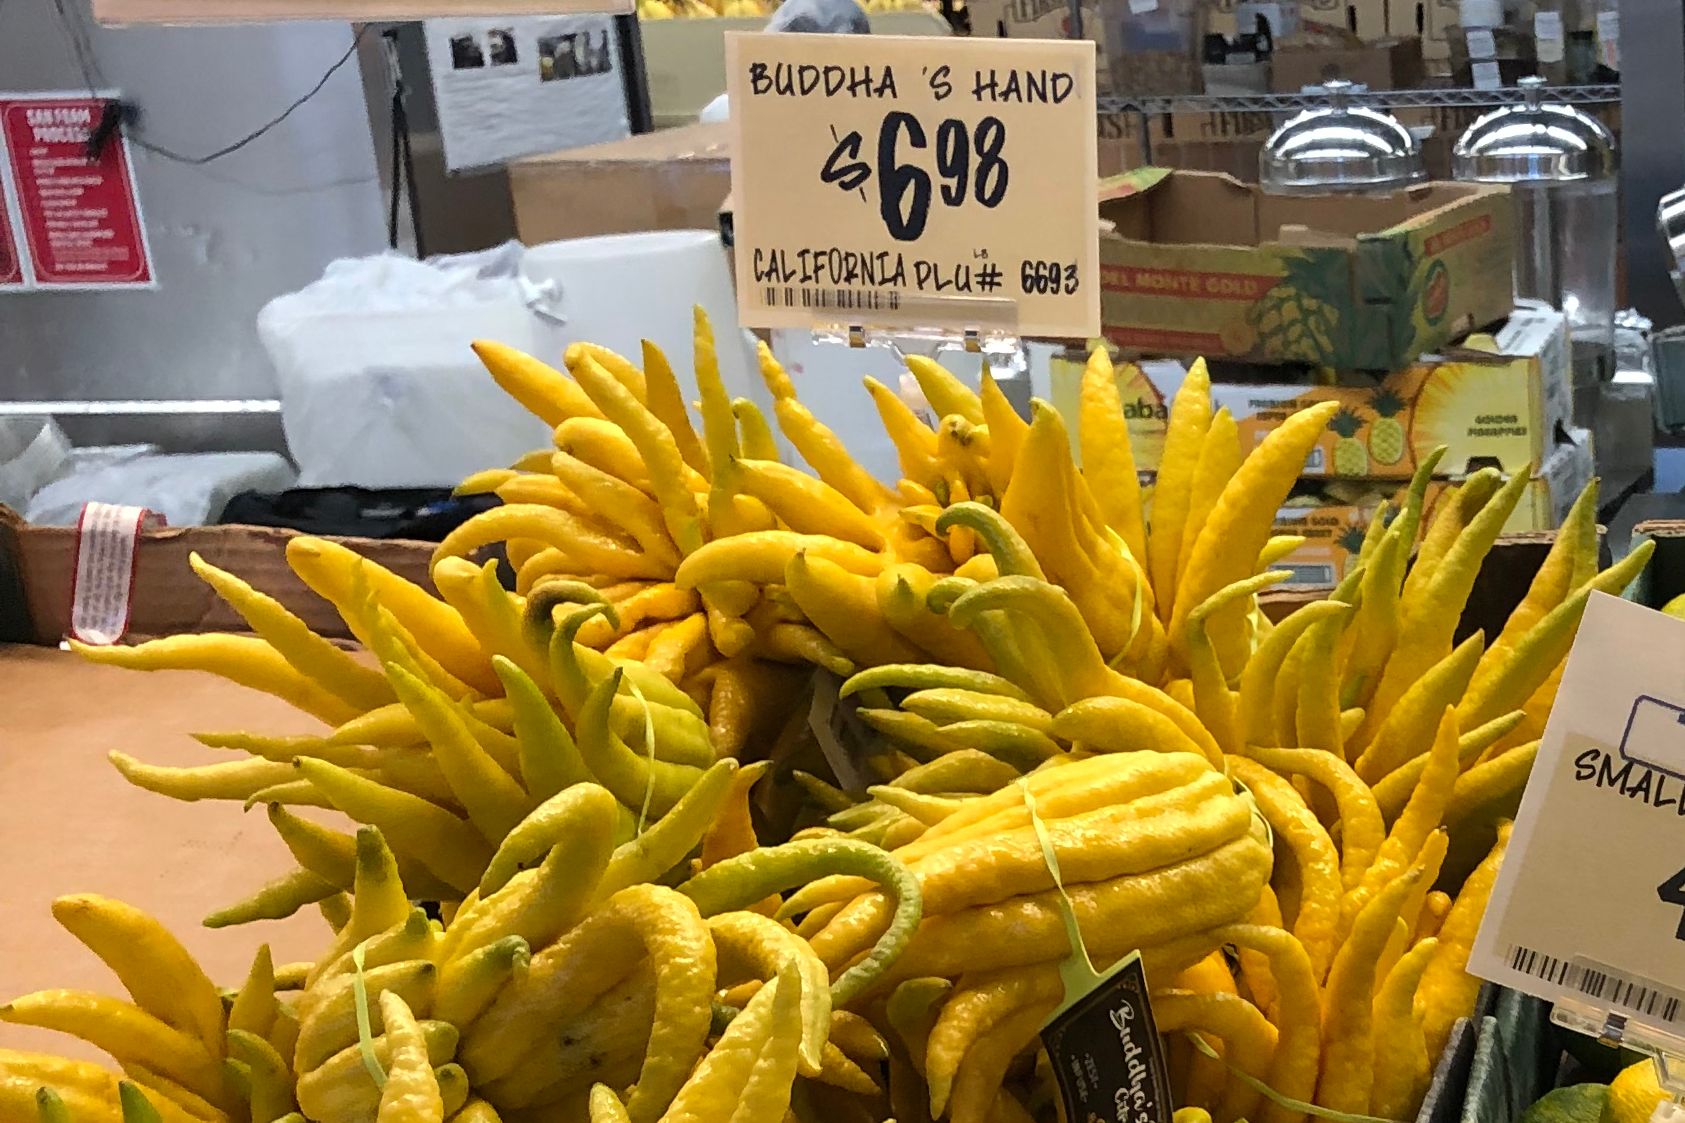
Oh, right. One more thing on Buddha's Hand in the store: it's, uh, expensive.
According to the Smithsonian story, Buddha's Hand runs about $24 a pound on average. At Central Market (an incredible grocery store in Austin, Texas that allows me to drink beer or wine whilst shopping), they were $6.98 per pound, which, comparatively, was very reasonable, but still way more expensive than your run-of-the-mill lemon or lime.
The price and the challenges associated with growing the citrus are probably why you don't have a Buddha's Hand in your fruit basket right now.
That said, despite the price, I can't encourage you enough to give this fruit a try. It's got enough similarities with citrus that we already know to make you feel sort of comfortable handling it, but is different enough to make the experience of using it exciting and different.
Look inside
Inside, Buddha's Hand is all pith. The fruit has absolutely no juicy pulp inside.
This may be scary for some fruit or citrus enthusiasts — no pulp? No juice? What ever can I do with this item? (Read on!)
Like lemons or other citrus, the shelf life for Buddha's Hand is pretty extensive — I had mine for several weeks, initially in its full form, and then in broken down with individual fingers sticking around for more than a month in the refrigerator.
This produce purveyor recommends using Buddha's Hand in any recipe that calls for lemon zest, including biscotti, fruit compotes, casseroles and soufflés. The Kitchn recommends candying the pieces — something I considered but ultimately didn't get done.
Oh! And The Kitchn also recommends making Buddhacello — a play on limoncello. While one of my recipes contains an infused alcohol (spoiler alert!), I did not do this and am regretting it every day. If you do it at home, let me know.
Recipes
Much like the approach that Melissa's Produce recommended, when I cut into a Buddha's Hand for the first time, I immediately had two thoughts about exactly what my recipes for this post were going to be.
One relies on the zest of the Buddha's Hand, while the other relies on the infusions that other sites also recommended.
I also threw in one semi-recipe that I did that added a punch of flavor — but the base of this one isn't fully refined yet, so stay tuned!
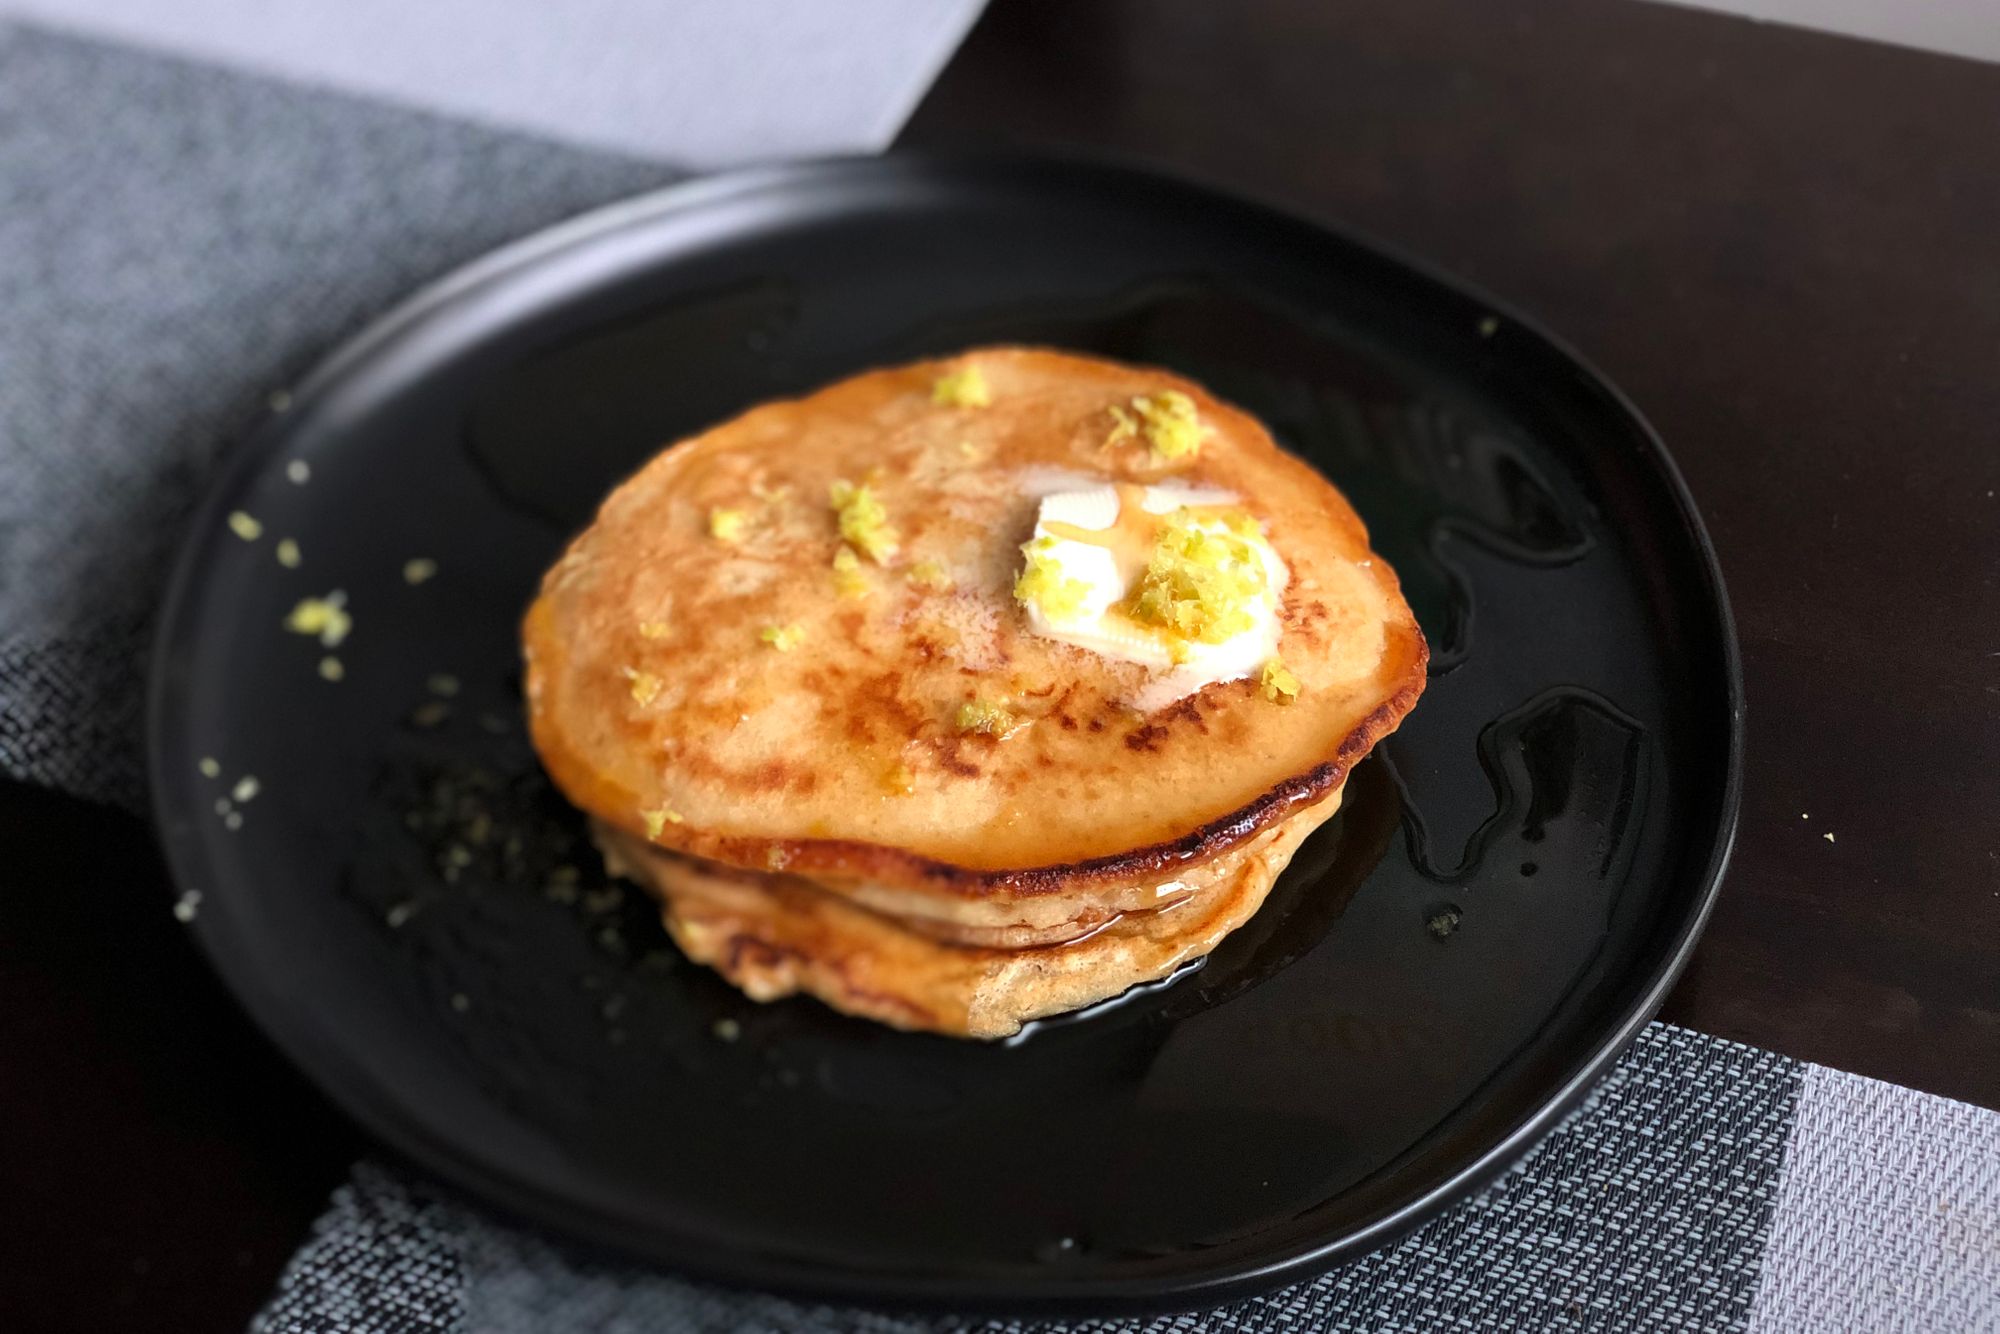
Buddha's Hand Pancakes
This recipe relies on using the zest of the Buddha's Hand to infuse sugar with the citrusy flavor. You can swap out Buddha's Hand here for lemon, lime or even orange(!) to bring a different flavor.
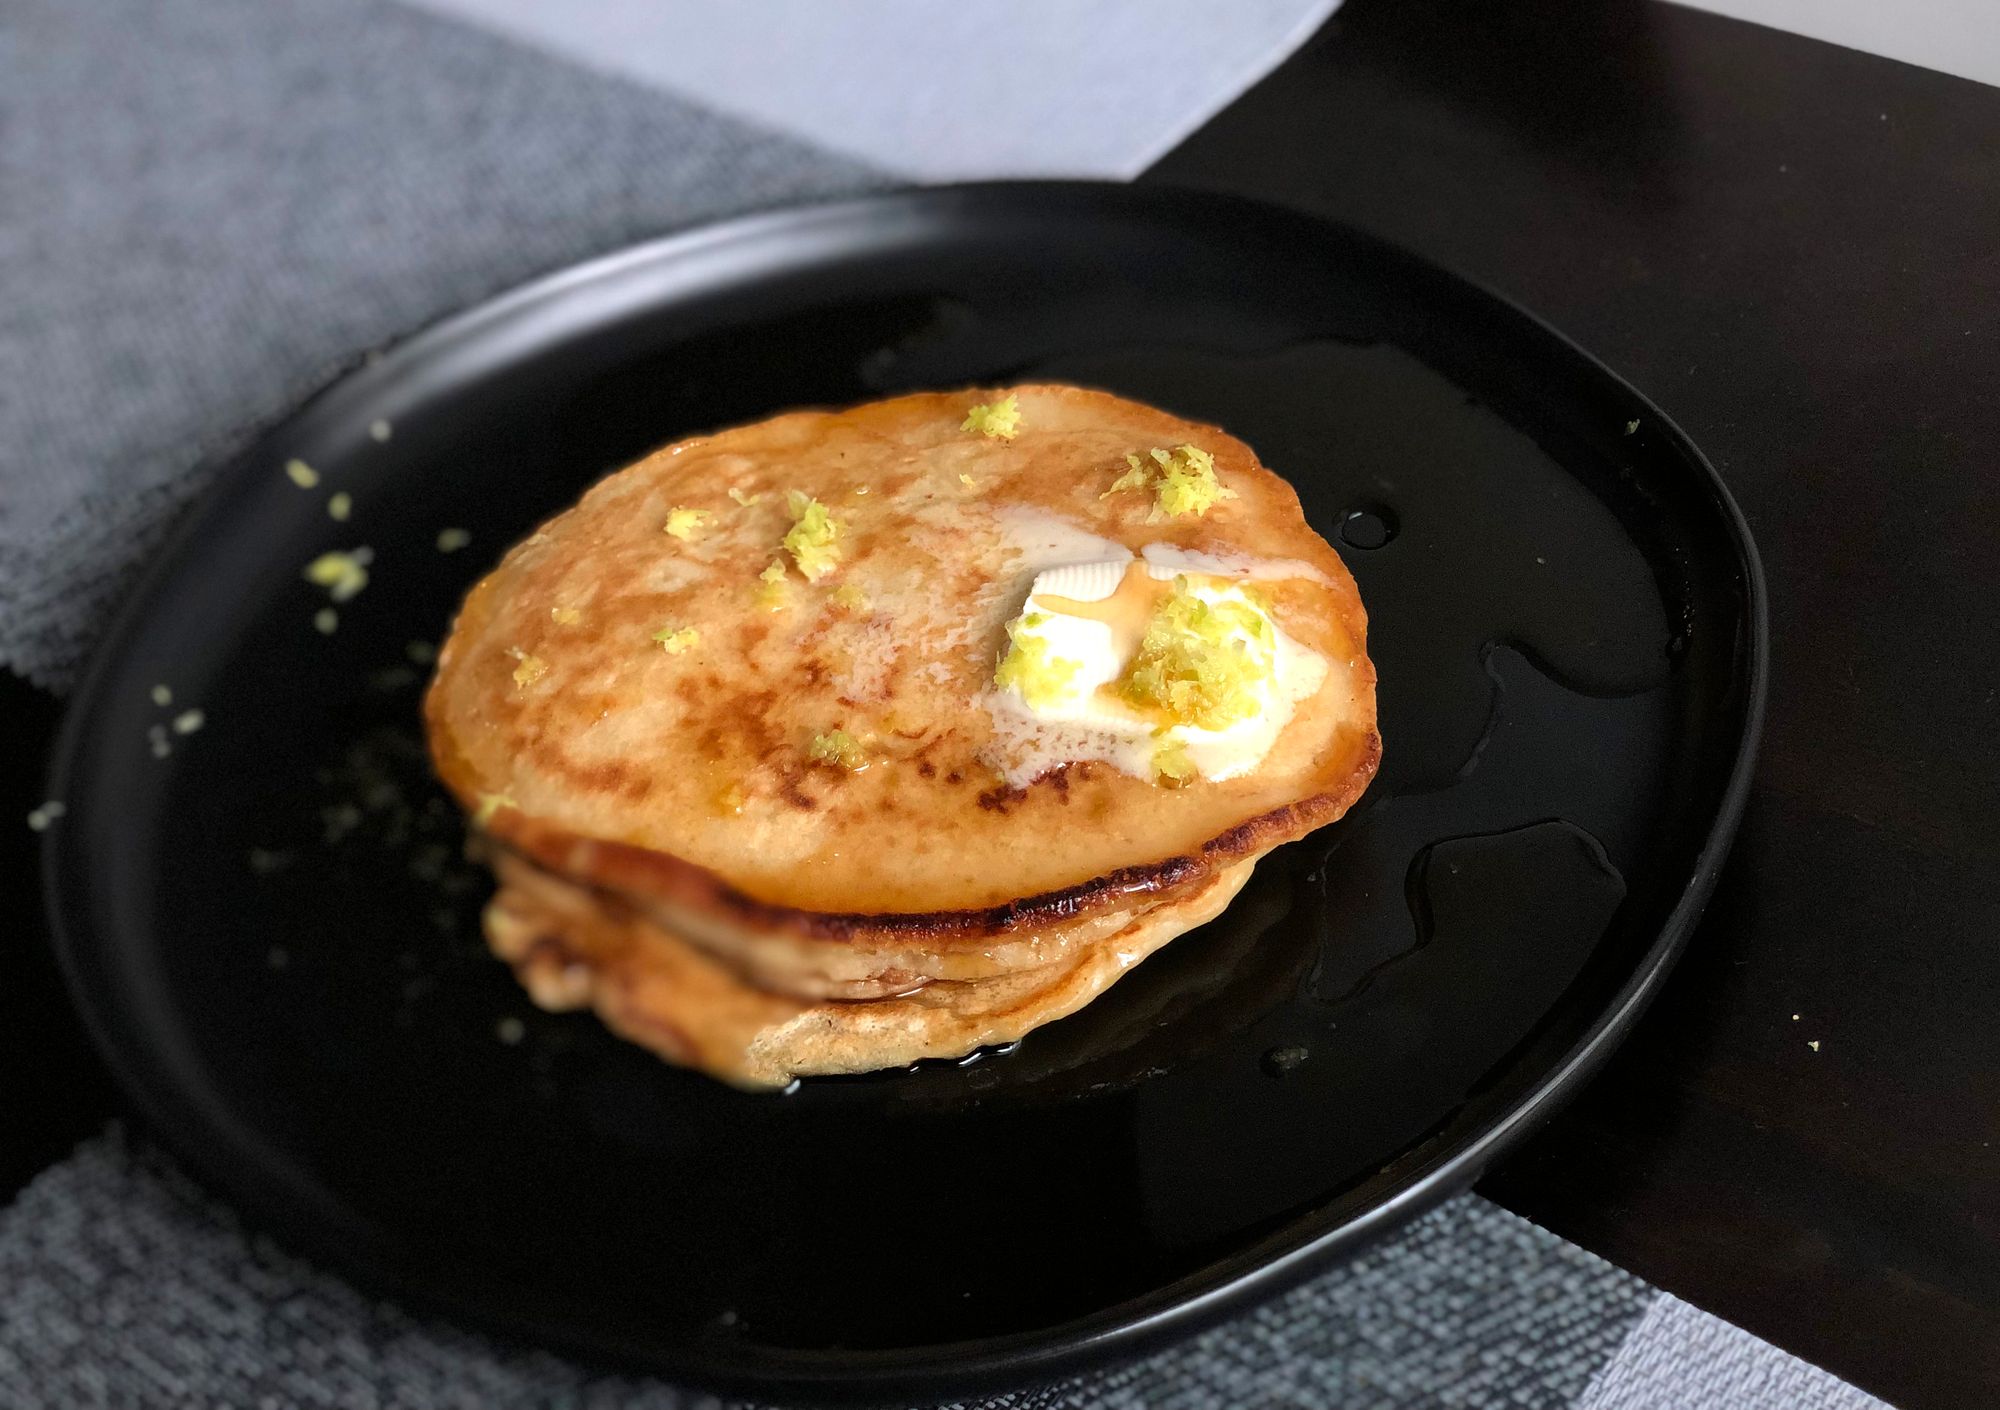
Candidly, I was shocked at how well these turned out.
I've eaten a good deal of pancakes in my life, and these actually ended up pretty near the top of the list. It's a great blend of sweet and savory (especially with my recommended syrup concoction) with a great balance provided by the citrus here.
The pancake portion of this recipe is a modified version of Alton Brown's "Instant Pancake" mix recipe. Instead of making a full batch, I shrunk it down to one portion and swapped out the buttermilk for almond milk.
As I've said in other posts, I try to cook dairy free as much as I can to spare my girlfriend's stomach, and somehow the almond milk here contributed a superior texture in these pancakes compared to most pancakes I've had before (my theory is that the acid present in the infused sugar thanks to the zest helped add the acidity that Alton tries to achieve here with buttermilk, but I am not scientific enough to know if that actually was the case or not).
All I know is these were good, and I am making them again with other citrus (or Buddha's Hand if I can get it!) very soon.
NOTE: This recipe's time element does not include the week or so that I recommend you allow for the sugar to infuse. You can do this recipe without any extra infusing time (the zest in the sugar will allow for some of that flavor). But time is a big asset here. That said, I'd say not much changed in the flavor of the sugar between about one week and any additional time, which is why I recommend a week here.
Serves 4
Time: 15-20 minutes
Ingredients:
For the infused sugar
- 1/2 cup white sugar
- Approximately 2 tbsp of Buddha's Hand zest (from 2-3 fingers, more is better depending on how much citrus flavor you're looking for)
For the pancakes
- 2 cups all-purpose flour
- 1/2 tsp baking soda
- 1 tsp baking powder
- 1 tablespoon kosher salt
- 3 tablespoons Buddha's Hand infused sugar
- 2 eggs, with yolks & egg whites separated
- 2 cups almond milk
- 4 tablespoons butter, melted
For the syrup:
- 1/4 cup maple syrup
- 2 tbsp hot honey
- 2 tsp Buddha's hand zest
Directions:
For the infused sugar
- Zest the Buddha's Hand fingers until you have about 4 tbsp of zest.
- Combine the sugar and zest in a food processor and pulse until zest and sugar are combined.
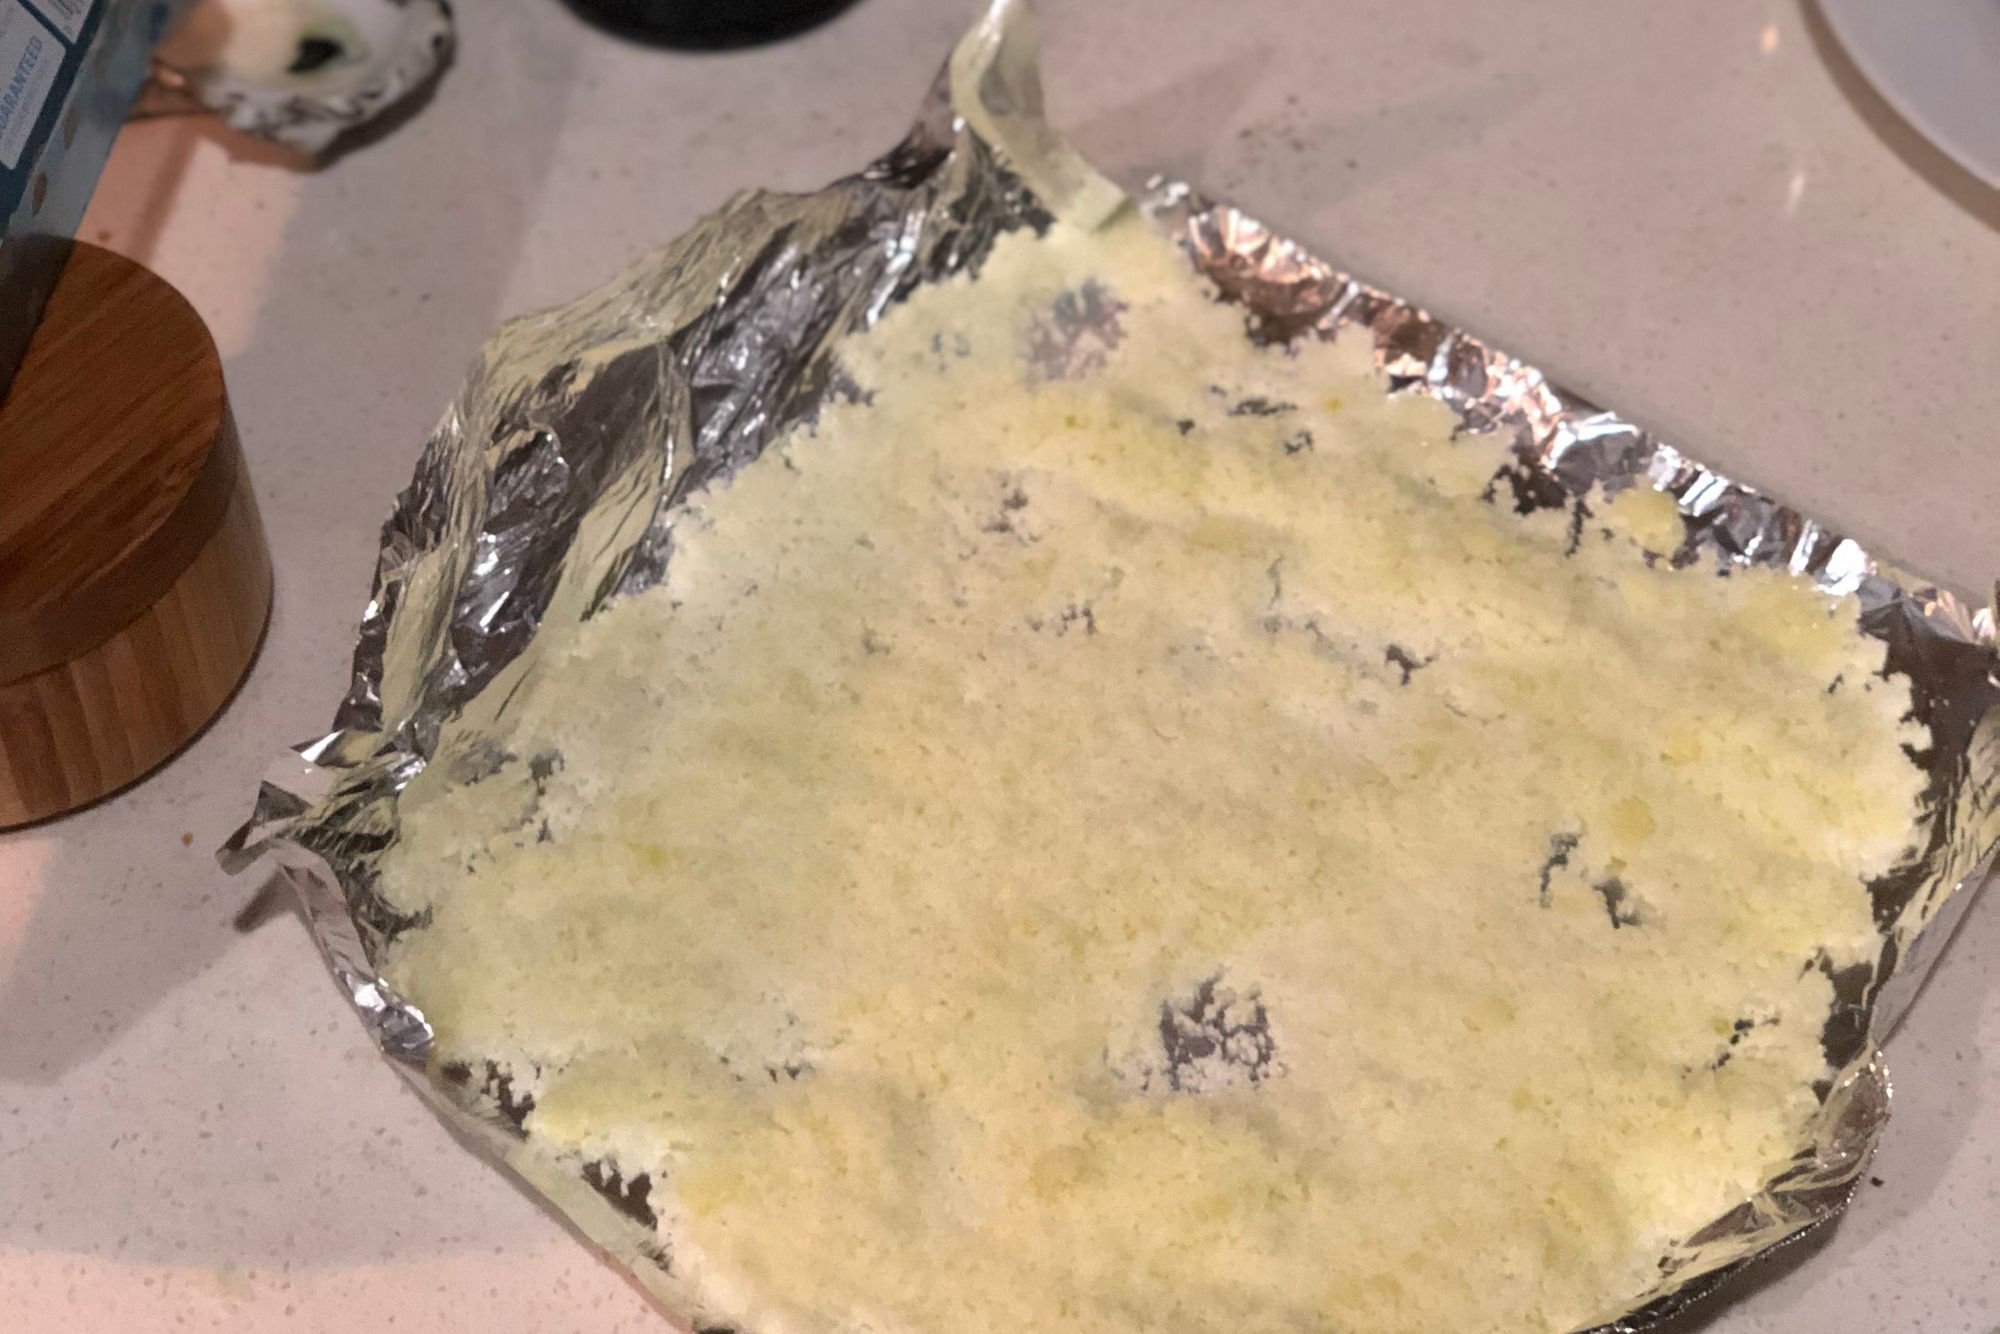
- Empty processor bowl onto a baking pan, lined with foil. With the foil, construct a "pan" on top of the baking pan by folding the edges of the foil so that it contains all the sugar evenly. The foil "pan" will help you to then maneuver the eventual dried sugar into a vessel of your choosing without losing all of the sugar.
- Spread the sugar evenly on the foil and allow to dry at room temperature for at least 6 hours, but preferably overnight. There will be more moisture than you expect in the zest and if not allowed to dry, the sugar will clump with the zest. You're looking for a dry, coarse sugar mixture.
For the pancakes
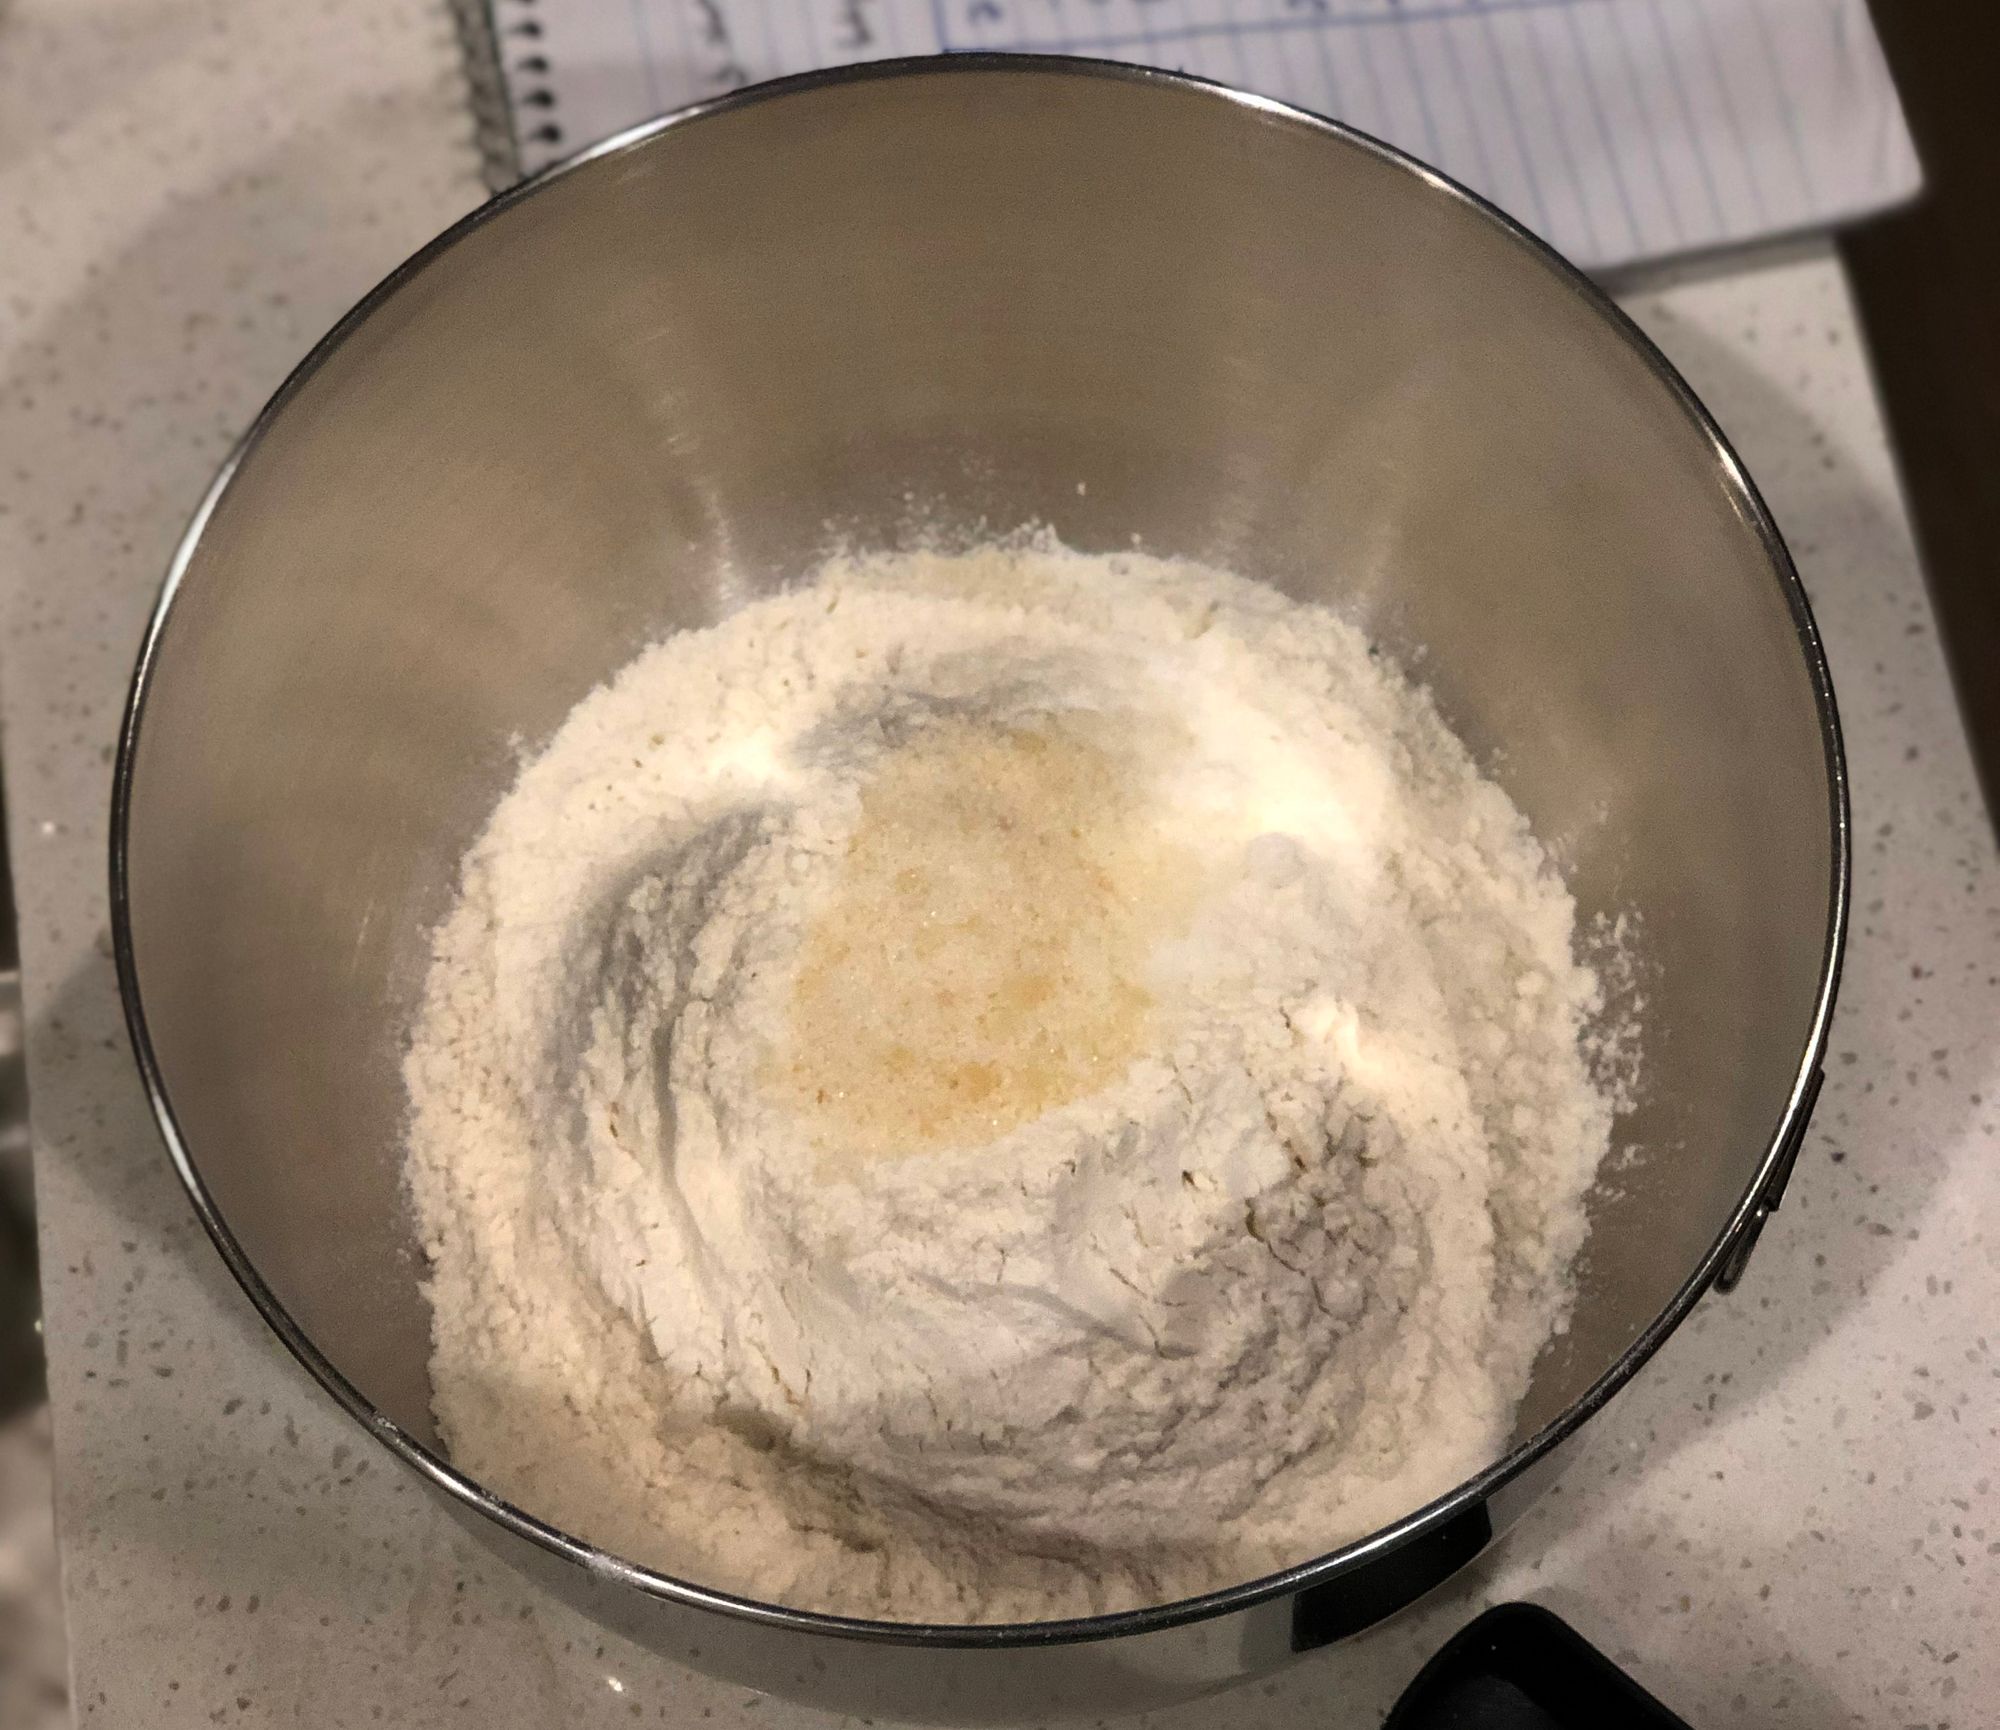
- Whisk together the flour, baking soda, baking powder, kosher salt and Buddha's Hand infused sugar.
- In one bowl, combine the egg whites and the almond milk. In another, mix the yolks and the melted butter.
- Combine the two liquid mixtures and mix thoroughly. (Honesty Note: I'm not sure the science of why Alton recommended to do it this way; however, when I tried mixing the eggs, butter and almond milk together without separating them first, the pancakes were not nearly as fluffy OR flavorful as they were with his recommended approach).
- Mix the liquid ingredients with the dry ingredients and just barely bring the mixture together. Don't overwork this — it shouldn't be smooth. There absolutely need to be lumps.
- Put a nonstick skillet or very-well-seasoned cast iron skillet (I prefer this approach!) on medium-high heat. Alternatively, you can use an electric griddle set to 350ºF (that's my stepmom's move). You'll know it's ready if you drop water on the surface and the water looks like it's dancing across the surface. It's a party in the pan that will soon be in your mouth.
- Grease the pan with butter (or vegan butter if that is your persuasion, works either way!).
- Gently ladle in about 3/4 of a standard-sized ladle onto the pan and allow to even out. Sizzle is a good thing here, it means it's working.
- When you start to see the edges brown, flip it and allow to cook for 90 seconds if you're looking for an ooey-gooey interior or 2 and a half minutes or so if you want a more cake-like texture. Either way, you need that second side to be as solidified as the first. The pancake won't release from the pan until that has happened so don't force it!
- Repeat as needed to use up all the mixture.
- Serve what you can eat immediately with a pat of butter that melts on top of the warm pancakes and the syrup below. Freeze the rest in a gallon-sized freezer bag. They're great reheated.
For the syrup
- Combine all the ingredients with a fork in a small bowl. Drizzle the amount you're looking for onto your pancakes. Enjoy.
Buddha's-Hand-Infused Gin
This is a pretty self-explanatory recipe, and should be used for a great citrus pop to whatever gin drink you'd prefer. I chose gin over vodka or other spirit here because of how well the citrus plays with the juniper and pepper notes in gin, but this process will also work with any liquor of your choice (tequila, anyone?).
I think this makes a great gin and tonic, but it also sips pretty nicely neat. It would probably be bonkers (in a good way) in a French 75. Yeah, I said bonkers.
Serves: Approximately 8 shots
Time: Less than five minutes prep, about 1 week to infuse
Ingredients:
- 8 Buddha's Hand fingers, halved lengthwise
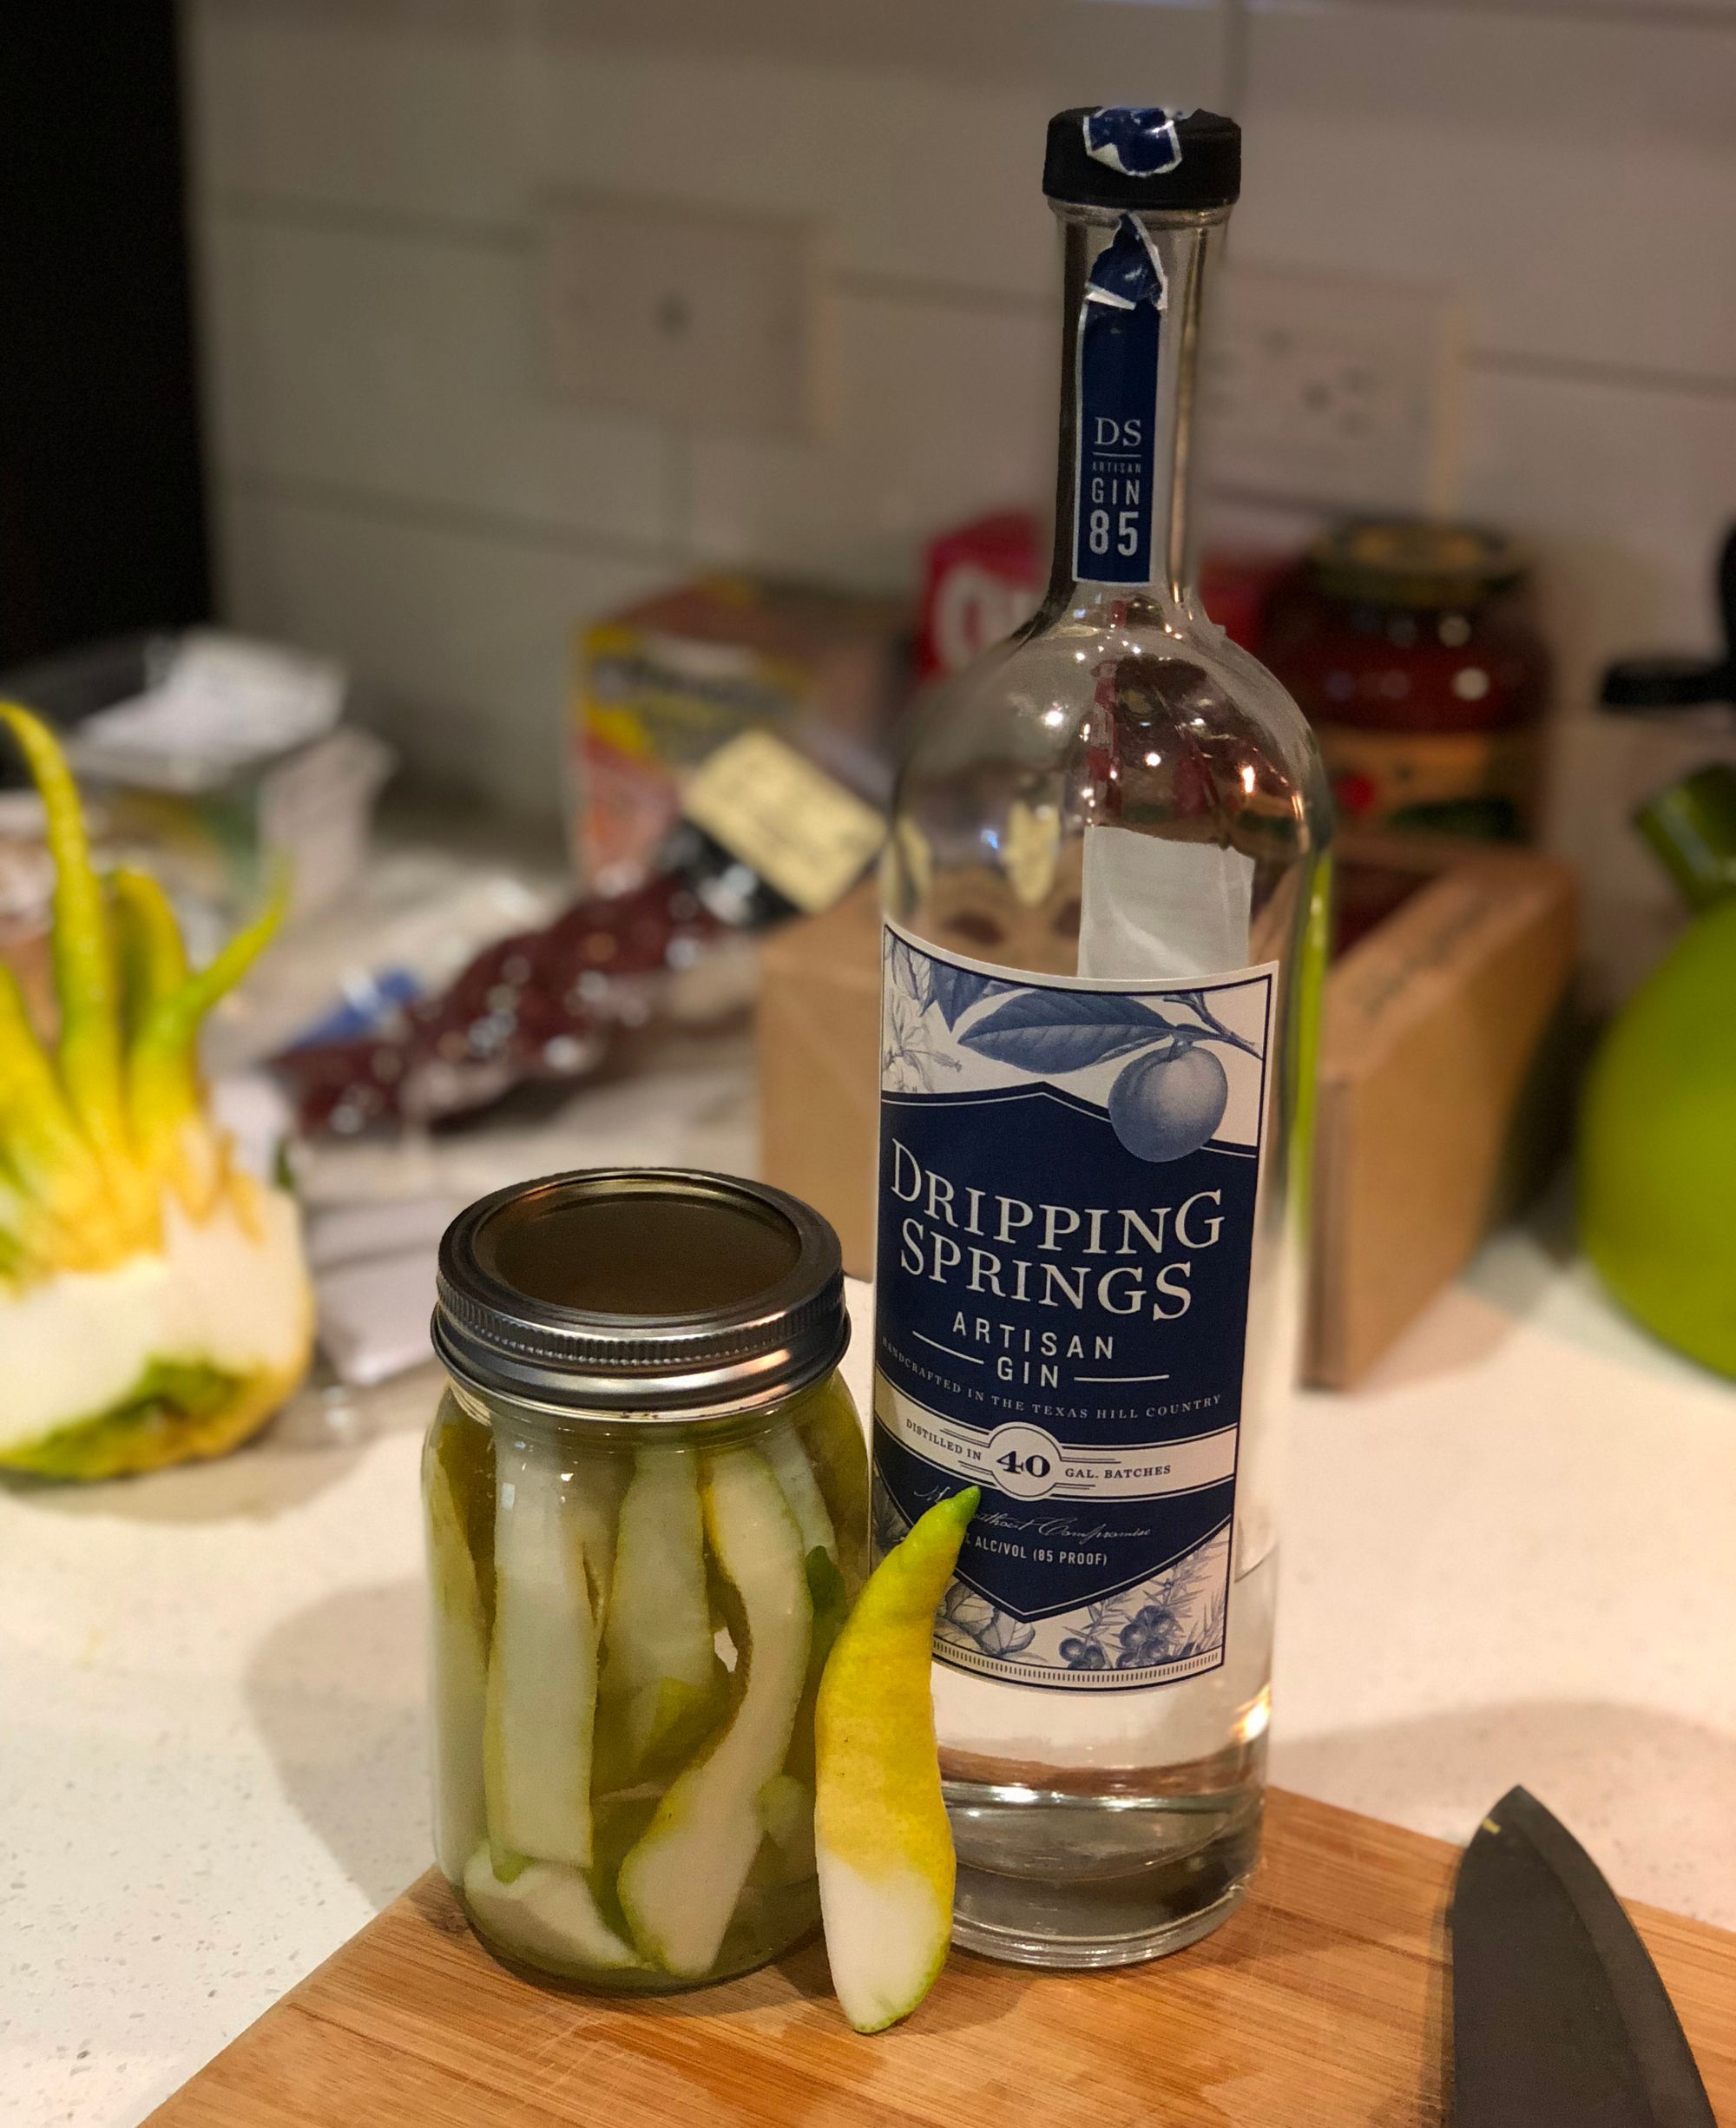
- About 1 1/2 cups gin of choice (I like Dripping Springs Gin made just down the road from Austin)
Directions:
- Place the halved Buddha's Hand fingers vertically in a pint-sized mason jar.
- Top with the gin — if the 1 1/2 cups doesn't make it to the top of the jar, don't be afraid to continue adding gin to cover the fingers. We're looking for total submersion here.
- Allow gin to rest and infuse for about a week, though flavor will start appearing almost immediately. Shake at least once per day. I recommend taking a small taste every day and if the flavor begins to get too acidic or strong, remove the Buddha's Hand fingers and strain the gin into a clean jar. (Another programming note: Buddha's Hand is completely edible, and after sitting in gin for awhile, it's, uh, a pretty delicious snack.
- The gin should last you for a month or more (if it sticks around that long). The occasional particulate may show up in it (a byproduct of the infusion). That is totally fine. If you'd like, you can strain it through a cheesecloth for an extra-fine strain, but who doesn't like a little grit in their gin?
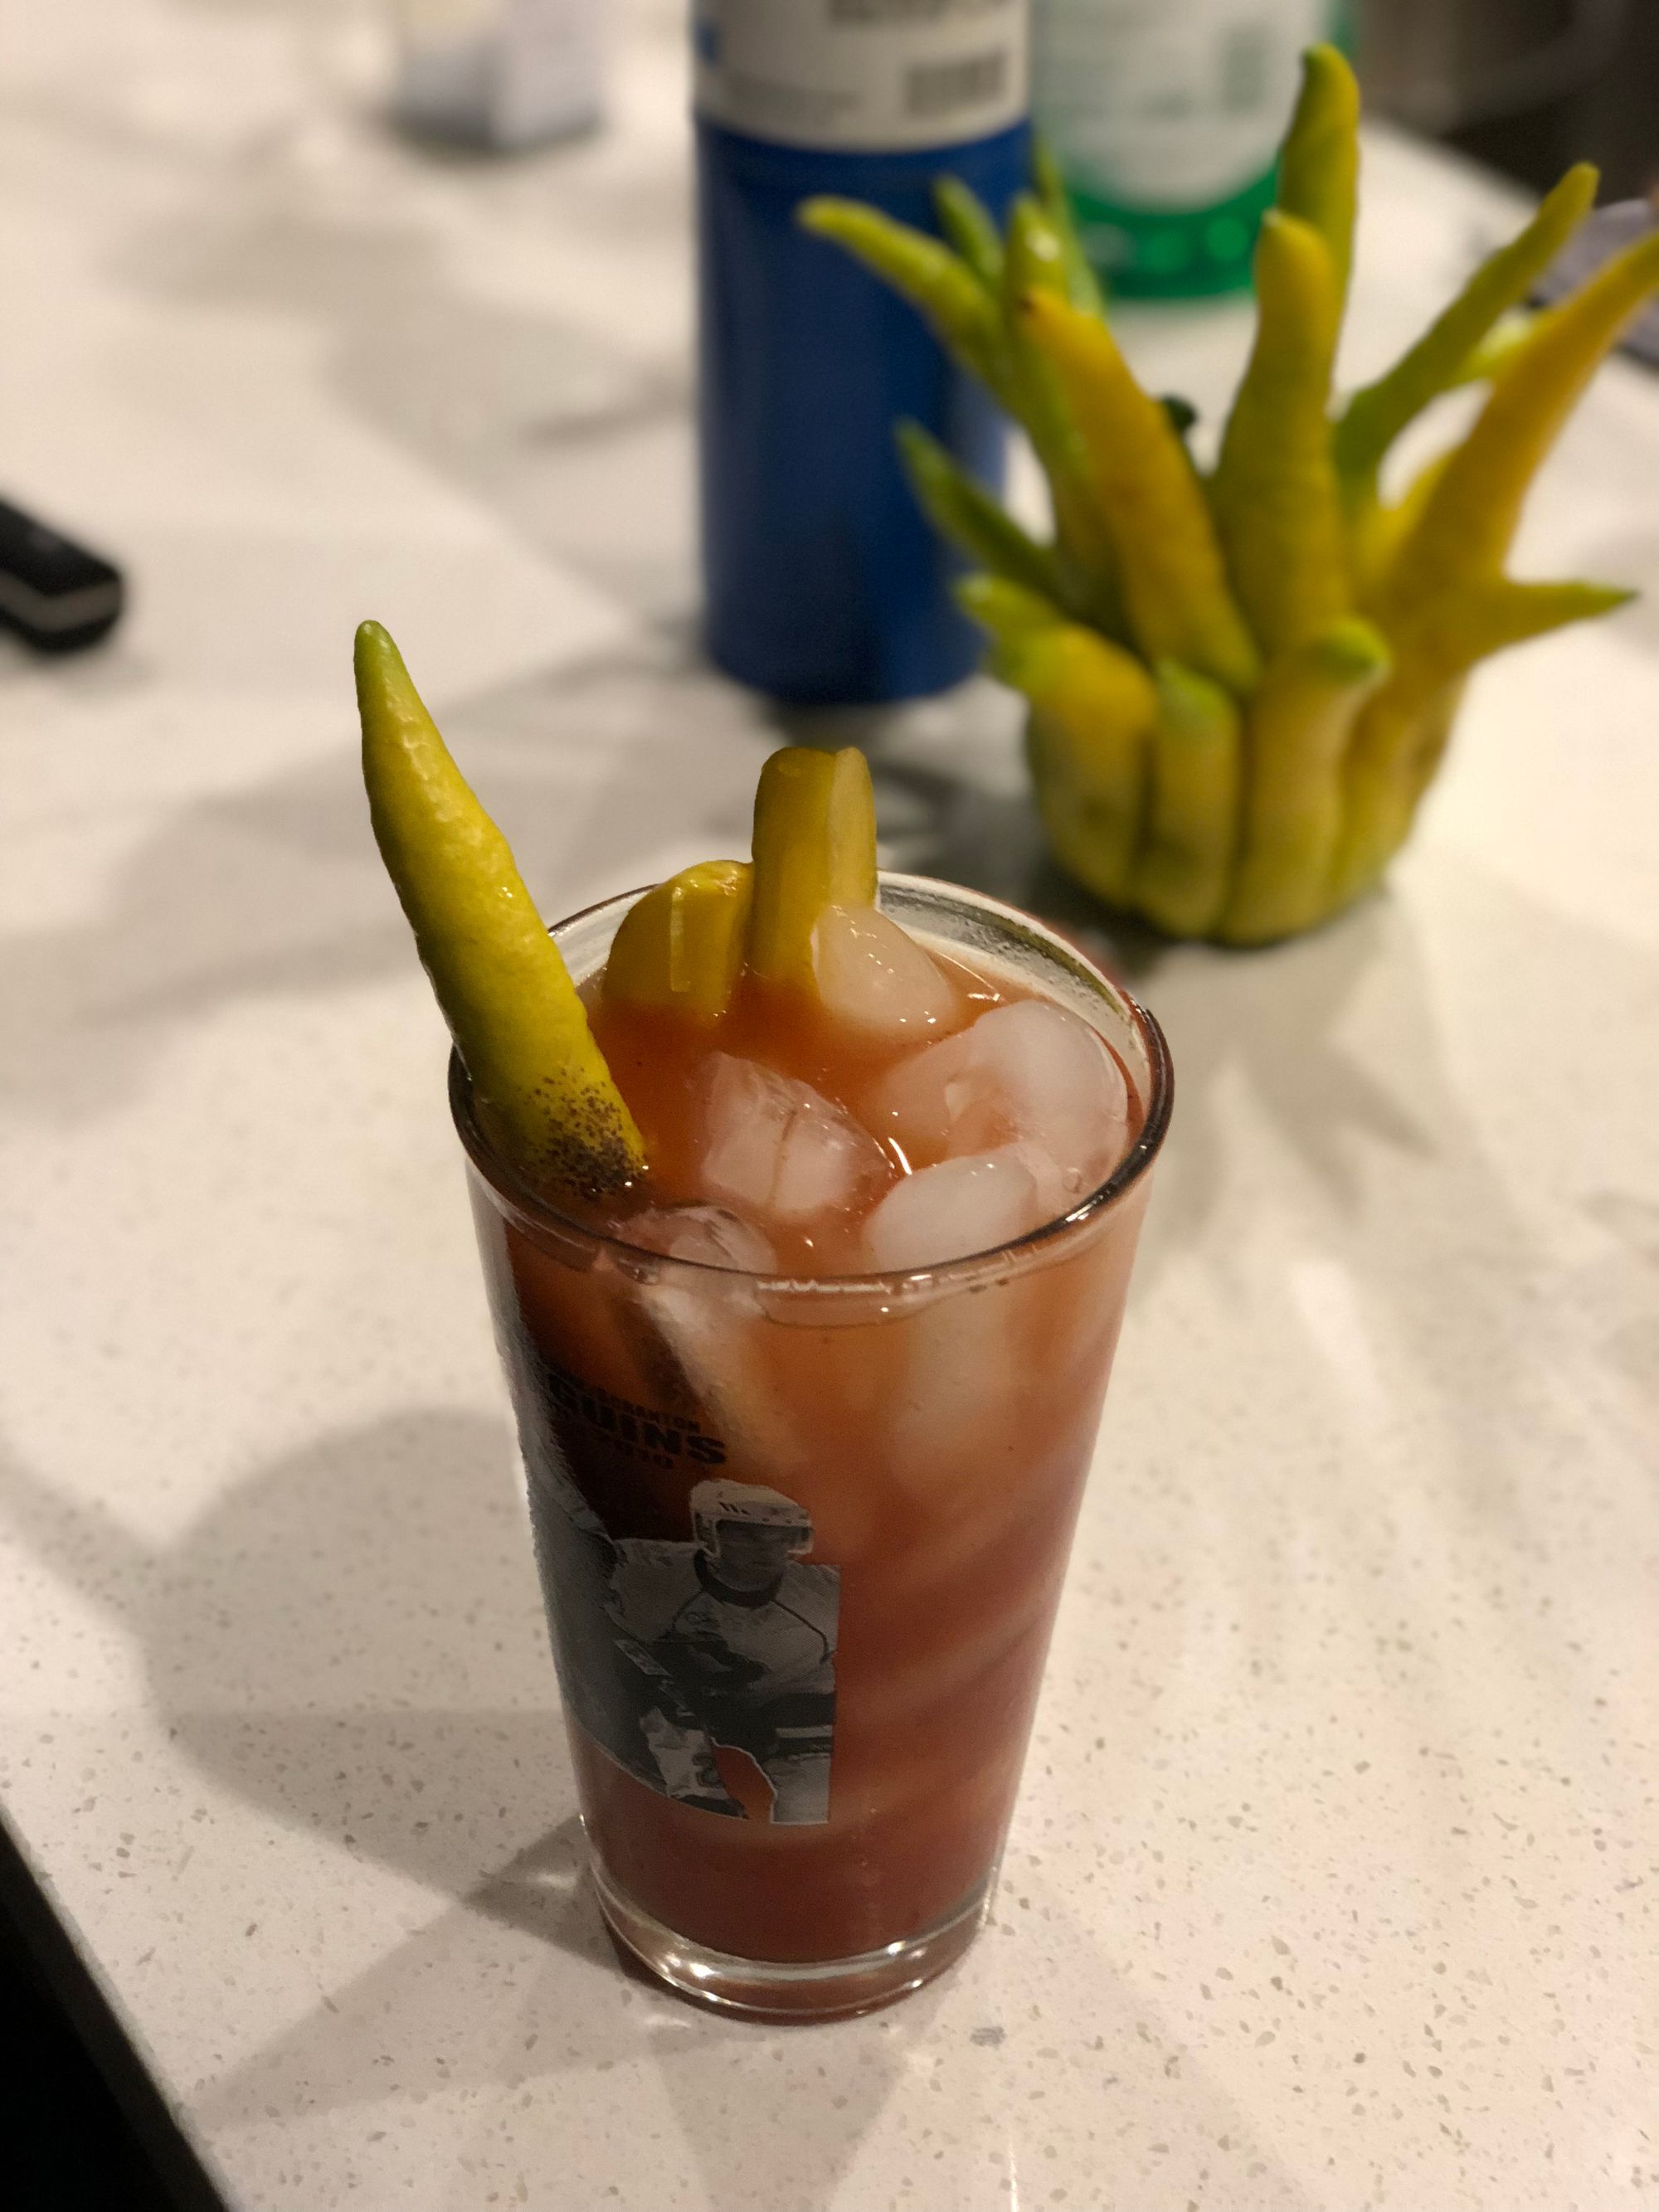
Buddha's Hand Bloody Mary
OK, look, I don't have my Bloody Mary mix figured out yet. It's fine, and even passable, but I know I can do better. Stay tuned. I'm not going to include a list of ingredients here, because I really only made this riffing, but if you give it a try, let me know.
The char on the Buddha's Hand finger caramelizes some of the sugars on the surface and adds a toasty zest to the drink. You can achieve a similar, albeit sweeter effect if you candied the finger and served it that way.
Directions:
- (optional) Infuse gin or vodka with Buddha's Hand. (Bloody Mary's are obviously traditionally vodka, but why not just use the gin you made above?). For mine pictured, I used non-infused vodka (Tito's), but I can't imagine a world where infused spirits would not make this better.
- Combine infused/non-infused vodka with the Bloody Mary mix of your choice.
- Take one Buddha's Hand finger and char using a blowtorch (or a kitchen torch that you would use for creme brulée. I used a blowtorch though).
- Serve mixed drink with bruléed finger and other toppings of your choice.